Planning a concrete sidewalk installation Dothan project involves specifications, permits, base prep, and inspection milestones. Because there are many moving parts, this guide simplifies decisions and, as a result, helps you budget with confidence.
Understanding Local Specifications for Concrete Sidewalks in Dothan
First, city standards define width, thickness, slope, joints, and textures. These clear specs, in turn, prevent drainage issues and premature cracking while improving safety.
- To begin with, typical widths support safe pedestrian flow and accessibility needs.
- Additionally, thickness increases near driveways or utility crossings.
- Furthermore, control joints limit shrinkage movement and random cracks.
- Finally, broom finishes provide traction during wet weather.
By aligning these details early, you create a code-ready concrete sidewalk installation Dothan plan.
Next, permits protect owners and the public. In most cases, projects require applications, site sketches, setbacks, and utility location checks.
- Before anything else, confirm right-of-way boundaries and easements before design.
- Then, include drainage notes, joint layouts, and accessibility slopes.
- After that, book a pre-pour inspection to verify forms and compaction.
- Finally, schedule a final inspection to confirm finish, joints, and slopes.
Throughout the process, keep approvals visible on-site to avoid delays or rework.
Calculating Costs with Linear Feet Pricing
Once permits are understood, budgets start with linear feet pricing. Measure length and standard width, then apply unit costs for forming, pouring, and finishing.
- First, set a base rate per linear foot for a broom finish.
- In addition, include adders for curves, ramps, thicker sections, and coloring.
- Finally, add line items for permits, inspection fees, haul-off, and cleanup.
Whenever possible, request itemized bids that separate labor, materials, and contingencies. This way, accurate takeoffs reduce change orders.
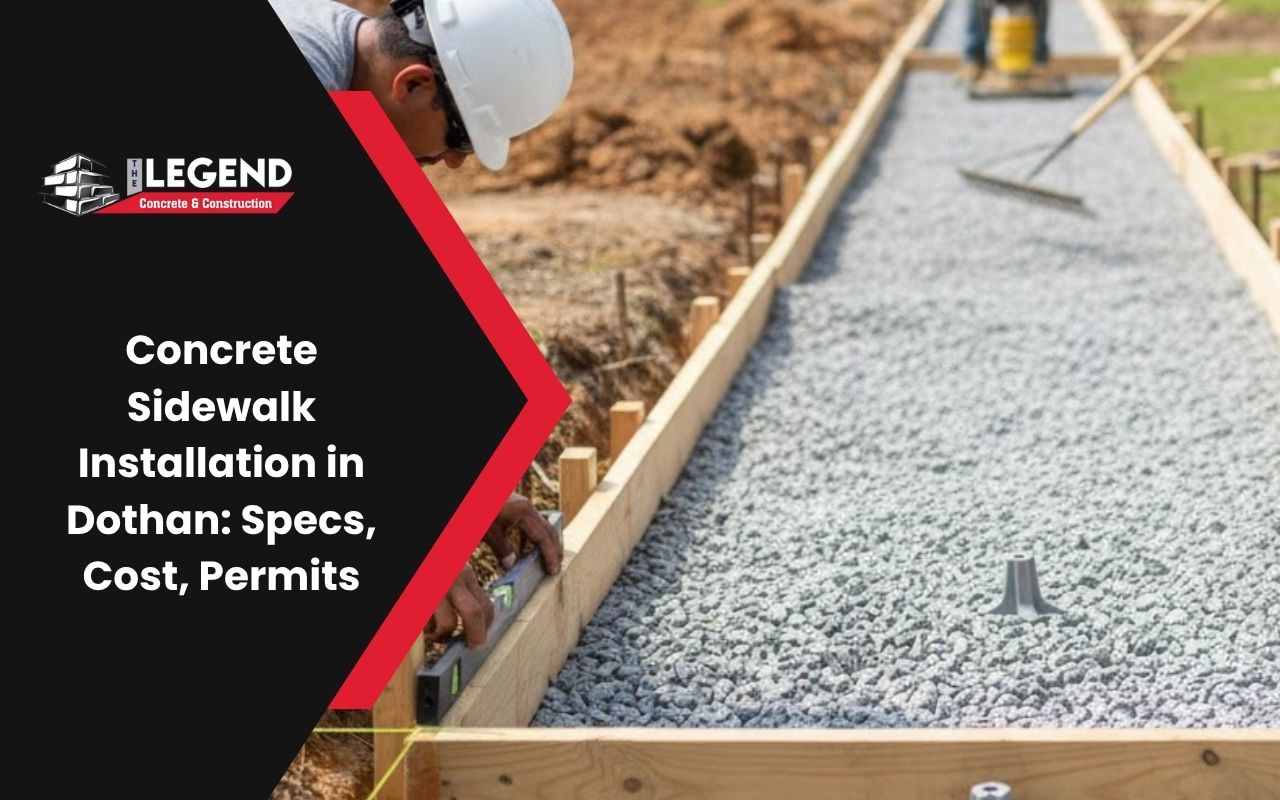
Importance of Proper Base Prep
Meanwhile, durability begins below the slab. Robust base prep removes organic soils, sets grade, and compacts a stable stone layer.
- First, excavate and establish uniform subgrade elevations.
- Next, place crushed stone and compact in thin lifts.
- Then, proof-roll to confirm density before setting forms.
- Finally, check crossfall for drainage away from structures.
With thorough base prep, you limit settlement, heaving, and surface scaling over time.
Choosing the Right Mix for Longevity and Appearance
In addition to base prep, select a mix matched to local climate and traffic. Aim to balance workability with strength by controlling the water-to-cement ratio.
For a more polished look, enhance appearance with light borders or subtle color. You can also explore options on Services to align finish and budget.
The Role of Reinforcement in Crack Control
Beyond the mix design, reinforcement helps manage crack width. Welded wire mesh or rebar distributes loads and supports edges near driveways.
When you pair reinforcement with well-placed control joints, you get predictable performance and clean aesthetics.
Ensuring Compliance with Safety and Accessibility Standards
At the same time, safety standards reduce slips and trips. Compliant slopes, transitions, and tactile warnings support accessible routes.
- Consistently maintain cross slopes for comfort and runoff.
- Likewise, use tactile warnings at street interfaces and ramps.
- Additionally, round edges where pedestrians step off curbs.
Be sure to document these features for the final inspection record.
Scheduling Inspections: Pre-Pour to Final Walkthrough
From start to finish, inspections verify readiness and finished quality. Pre-pour reviews confirm forms, base prep, reinforcement, and joint layout.
Then, the final inspection checks texture, joint spacing, and slopes. Keep photos and notes for your concrete sidewalk installation Dothan closeout package so everything is clearly recorded.
Maintenance Tips for Long-Term Performance
After installation, annual cleaning, joint sealing, and prompt crack repair preserve appearance. During cold snaps, use concrete-safe de-icers.
Additionally, avoid metal shovels on edges. Inspect after heavy rains so you can address drainage concerns quickly.
Frequently Asked Questions
How is linear feet pricing applied to sidewalks?
Typically, contractors multiply length by standard width, then add finishes, thickness changes, permits, inspection fees, and site conditions.
What exactly is included in base prep?
Generally, base prep includes excavation, grading, installing and compacting crushed stone, moisture control, and elevation checks against plan benchmarks.
Do I need inspections for a private sidewalk?
In most cases, projects require at least a pre-pour and a final inspection to confirm safety and code compliance.
Which finish offers reliable traction?
For everyday use, a light or medium broom finish balances safety, cost, and clean appearance.
How do I start and who do I contact?
To get started, gather measurements, outline specs, and request a detailed bid. For help, simply Contact us.
Creating Lasting Value with Quality Installation
Ultimately, successful concrete sidewalk installation Dothan projects rely on clear specs, careful base prep, and timely inspection coordination. Together, these steps ensure curb appeal and safe access.
Finally, choose a contractor who documents processes and communicates clearly. Your concrete sidewalk installation Dothan investment will then perform for years to come.